Sunday Stash #59
15
May
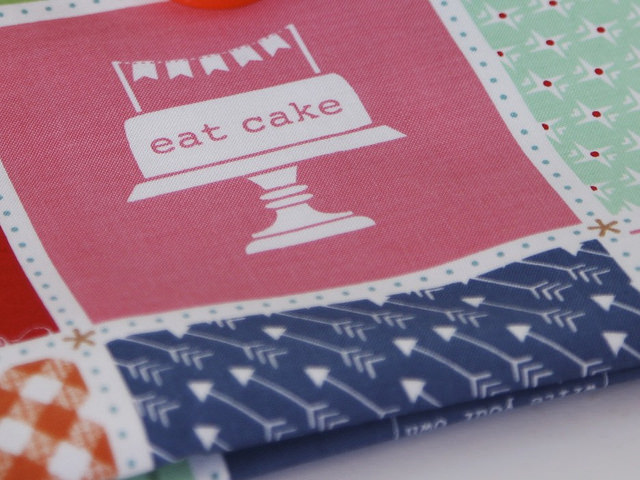
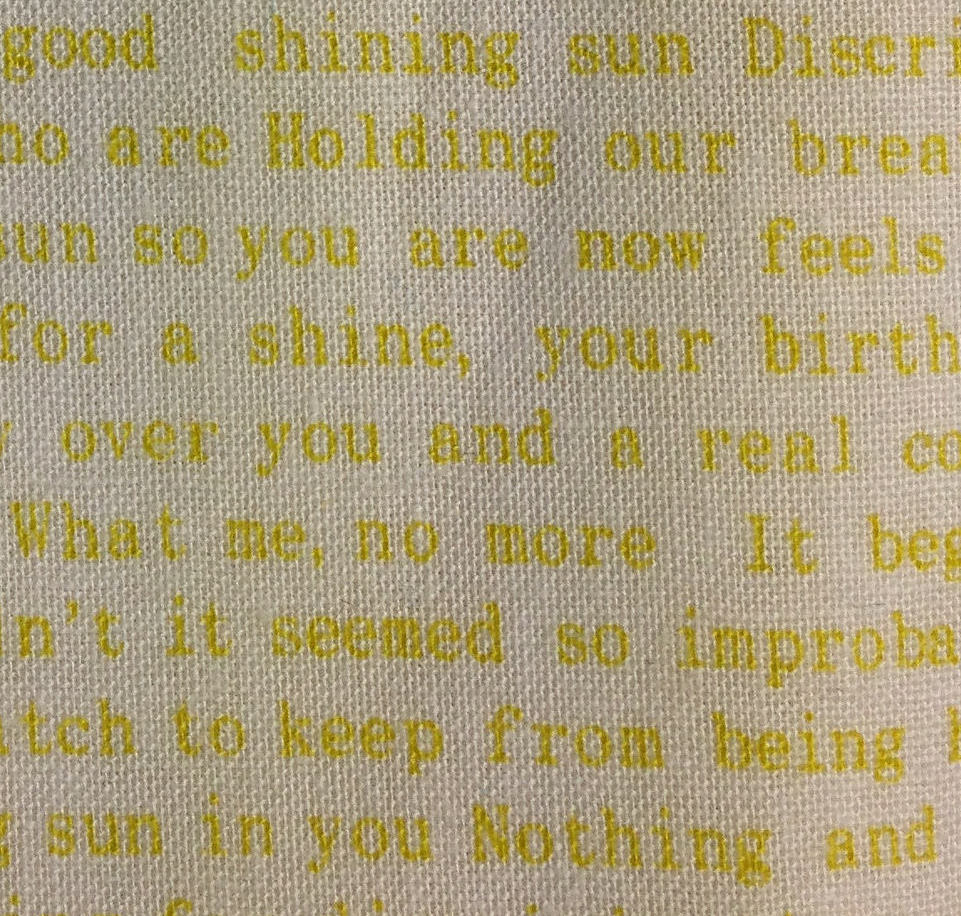
I had a lovely delivery of fabric this week; it came from Mariner’s Compass Quilt Shop, I won a gift certificate in the 1st quarter of the FAL and it was lovely to go shopping for fun rather than for … Read More »