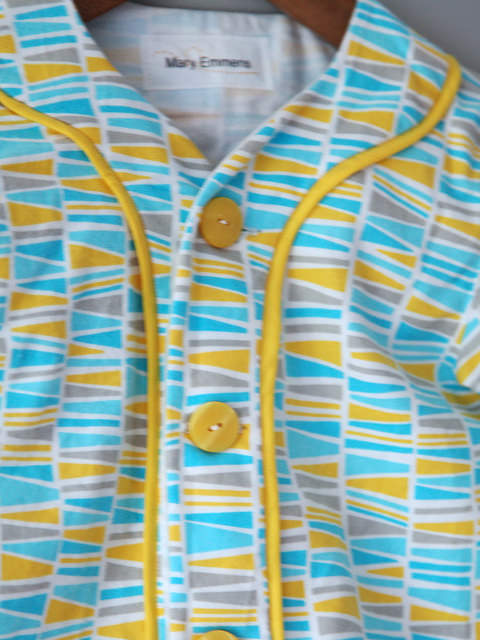
A new pyjama pattern
10
Aug
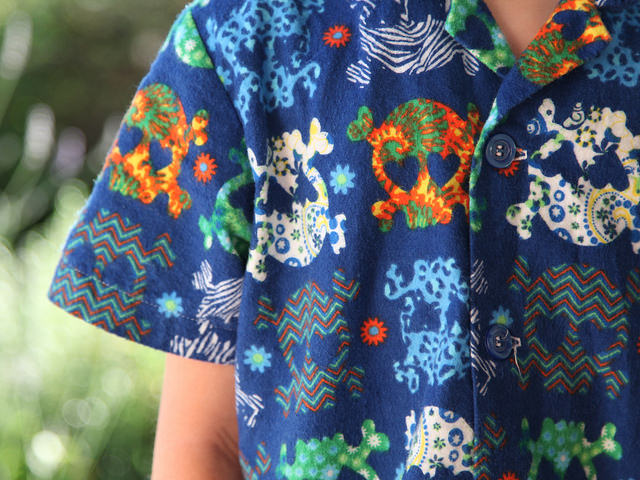
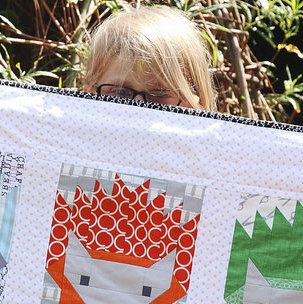
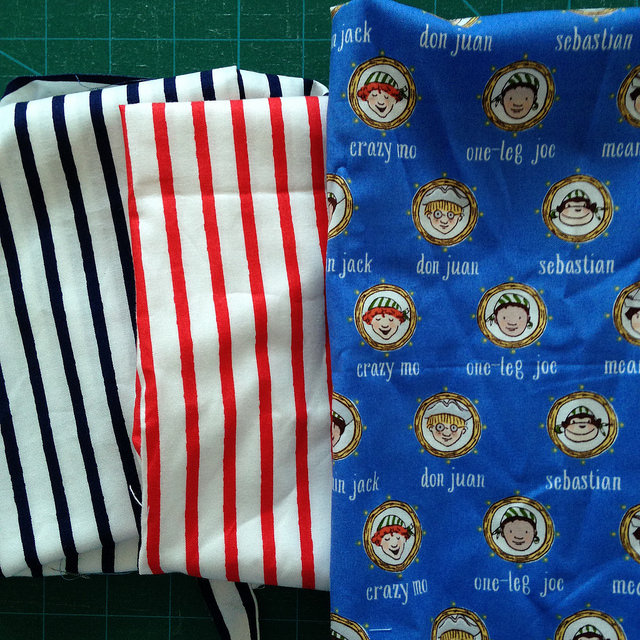
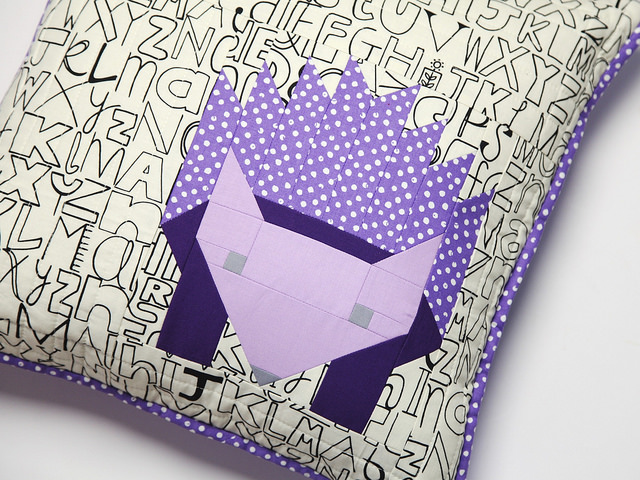
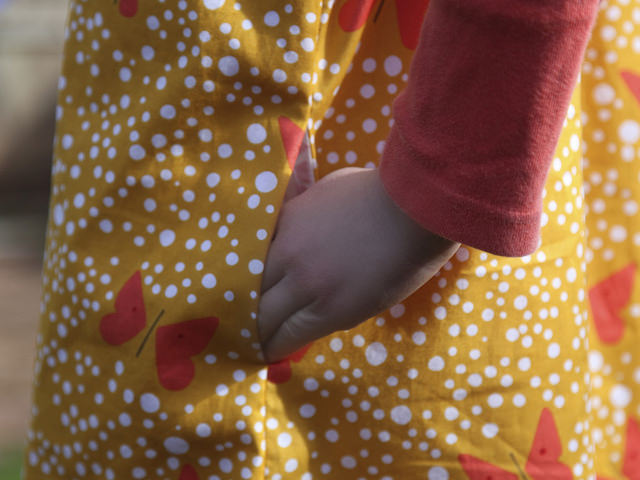
I’ve written recently about the Goodnight Sweetheart pyjama pattern; sadly Leah is now too big for this pattern and I don’t have the skills to grade it up for her so I had to find a new pattern. I did … Read More »