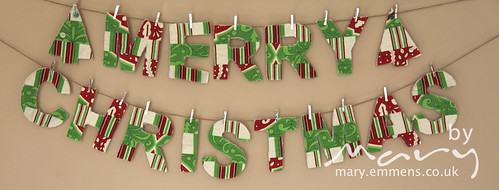
It’s the first day of December so I thought I would share the tutorial that I entered for The Sewing Directory’s Christmas competition, I hope you have fun! Please bear in mind that this is the first tutorial I’ve written, if you have any queries as you work through it please let me know.
Please take a few moments to read through the whole tutorial before you begin cutting and sewing as there are a few options, which may change the way you put yours together.
Materials required:
Christmas fabrics totalling 12” x 36”
Backing fabric size 12” x 36”
Wadding/interfacing 12” x 36” (see instructions for more detail)
Contrasting thread
Merry Christmas Patchwork bunting templates
Additional requirements
Buttons, beads, ribbon, ric-rac for embellishing
Fabric piece 8” x 20” for drawstring bag for storage
Twine/tape/bias binding
Mini clothes pegs
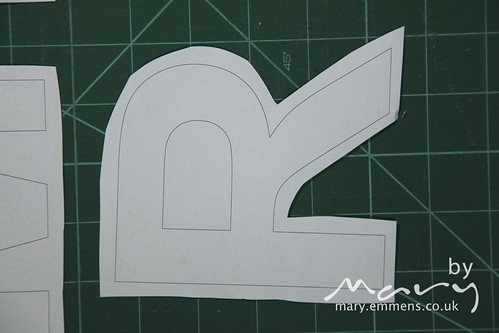
1. Print off the attached templates, cut out each shape with a seam allowance of ¼ – ½ inch (5-10mm). You could use other templates in place of the Christmas trees if desired e.g. stars, snowmen, stockings.
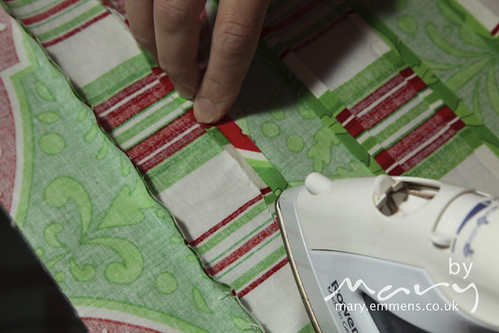
2. Cut the fabric and stitch the strips right sides together along the long side using a ¼ inch seam allowance. Press the seams open as you go. If you want to have a more patchwork piece of fabric then you will need to cut pieces and sew them so that you have a finished piece 12” x 36”. Alternatively you could use just one piece of fabric.
3. You are now going to make a fabric sandwich. Lay your backing fabric wrong side up on your work surface. Lay your wadding/interfacing directly on top of the backing fabric. (If up-cycling is your thing, here you can use pretty much any fabric for the backing and interfacing, for example, I used 3 layers of an old flannel sheet. If however you want stiff letters then use an appropriate weight interfacing.) Lay your patchwork strip piece right side up on top of the interfacing. Pin the layers of fabric together at approximately 20cm spaces, just to hold it together while you pin the templates on.
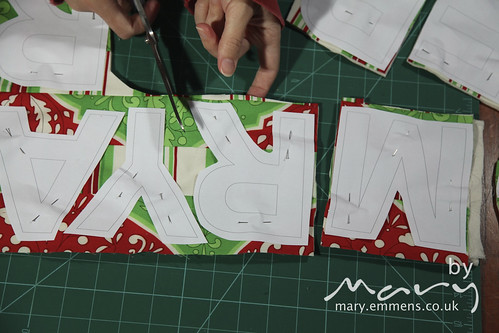
4. Position your paper templates on top of the fabric. I alternate the letters between the top and bottom row so that when finished there will be a pattern. You may want to do this depending on what fabric layout you have chosen. See photo below:
Now pin them on through all the layers. Make sure that you leave a little bit of space between each shape for cutting.
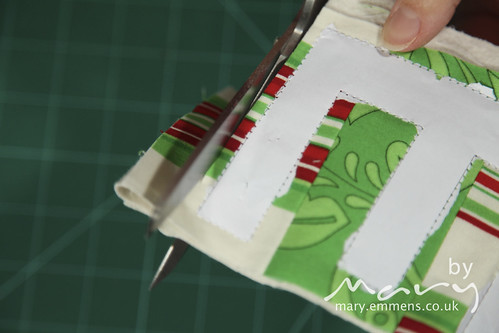
5. Cut around each template sandwich. I do this to make is easy to sew each letter rather than trying to work with a big piece of fabric.
6. You are now going to sew your template sandwich. I use a walking foot for sewing these layers, it will depend on how thick your sandwich is, you don’t have to use one but it does make it nice and easy. Stitch along the printed lines of each template remembering to backstitch at the beginning and end. Don’t forget to stitch the inners parts of letters R and A.
7. Once you have stitched all the letters carefully remove the outside part of the paper template taking care not to pull the stitches. Your stitching will have perforated the paper making it fairly easy to remove. DO NOT remove the main paper of the template as you will use this as your guide for where to cut in the next step.

8. Trim around the outside of each template leaving a seam allowance of approximately 5mm.
For letters R and A remove the inner piece of paper template and carefully trim the inside of the letter.
9. Now remove the remaining paper template.
All your letters and shapes are now complete – well done. However you may wish to embellish them with buttons, beads, ribbons etc or quilt them – the choice is yours!
I like to wash my letters on a 30° wash, this will give a frayed effect to the shapes. Once washed you may want to trim some of the frayed thread and iron the letters flat.
To display the bunting I peg them onto a piece of twine and hang up to decorate. You could stitch them on to a piece of tape or bias binding. I like using the twine because it means you could have 2 strings, one with Merry and the other with Christmas hanging below depending on the space you have available.
You can use this tutorial to create other words too – my Happy Birthday bunting is popular and I’ve also made them spelling out children’s names.
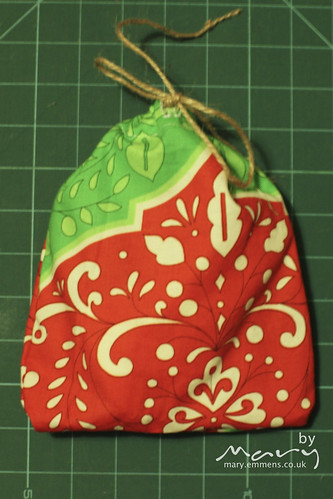
I have also made a drawstring bag to store the letters in so that there is some hope of me finding all of them next Christmas!
1. Use a piece of fabric 8” x 20” fold in half wrong sides together (so your piece is 8” x 10” double thickness).
2. Sew a 3/8” seam down each long side, turn the bag (so the wrong side is outside) and press, now stitch another seam of ¼” (which will enclose the first seam) creating a French seam.
3. To create your casing for the drawstring fold the top of the bag to the wrong side ¼” and press then fold under ¾” and press again.
4. On the outside of the bag in the middle of one side make two marks with a pencil/chalk approx ½”. Make 2 buttonholes at these points for your cord to go through – don’t forget to open the buttonholes with your seam ripper.
5. Sew along the inner folded edge to make the casing. Insert cord/ribbon/twine and you are finished!
Don’t forget to share, I’d love to see your finished bunting.
I’m linking this post to Pink Chalk Studio Handmade with Love contest, go on over to see lots more fantastic tutorials.


Brill tutorial Mary, I don’t think I’ll have time to make this, this year, but will file it away until next!! xx
Love this but I was put off by the ironing part (you know me and ironing), oh and the sewing part (you know me and sewing). xxx
Cute idea for some bunting
I’ve pinned it for making after the move 🙂
Pingback: Sew Mama Sew! Giveaway Day | mary emmens