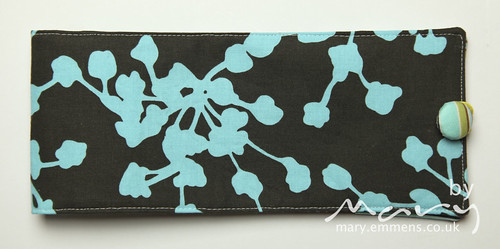
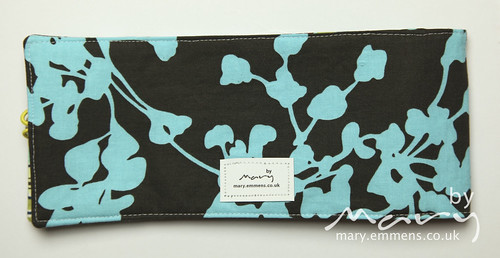
Following on from last weeks post where I showed you the two cheque book covers I had made, I’ve now written up one of the tutorials (the easiest one) for your personal use.

This tutorial is written to fit a Co-operative/Smile bank cheque book which measures 7.5 cm x 20.5 cm. I don’t know if all cheque books are the same size, if yours is different please adjust measurements to suit and/or consider banking with an ethical bank!
Please read all the way through the instructions before you start sewing.
I use a quilting weight fabric but think a home décor weight would work just as well and you could probably use a lightweight interfacing.
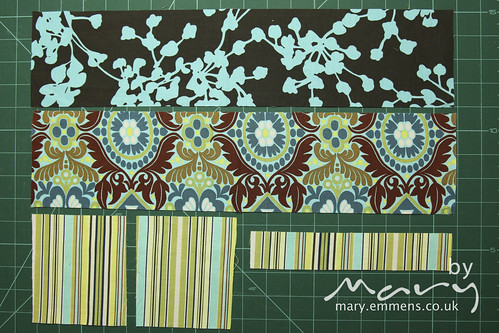
1 exterior piece 46 cm x 10.5 cm
1 main interior piece 46 cm x 10.5 cm
1 piece 21 cm x 4cm
2 pocket pieces 10.5 cm x 12 cm
1 piece thin elastic 6.5 cm long (I use a pony tail band cut in half!)
Button, I use a self cover button.
Medium weight fusible interfacing
2 piece 46 cm x 10.5 cm for the exterior and interior
2 pieces 10.5cm x 6cm
1. Fuse the interfacing to the wrong side of the interior pieces and the exterior. Set aside.
2. To make the pockets, fold each piece in half and press, use a piece of interfacing 6 x 10.5 fuse this to the wrong side of one half of this piece and repeat with other pocket piece. Topstitch along the fold line. Set aside.
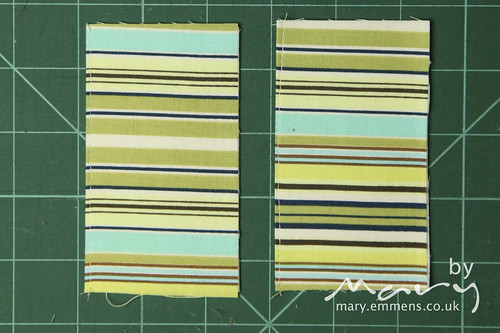
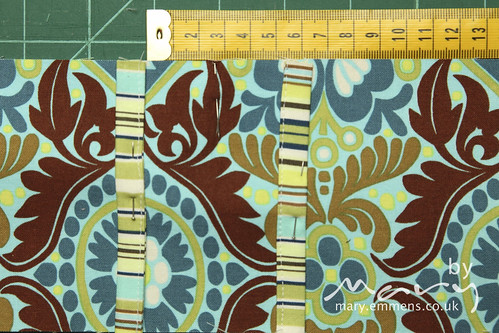
3. Make the strips which hold the cheque in place. Take the 21 cm x 4 cm piece and fold in half lengthways, press, open out and fold both the long sides into the middle and press.
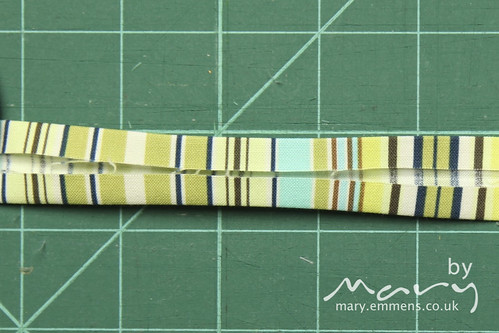
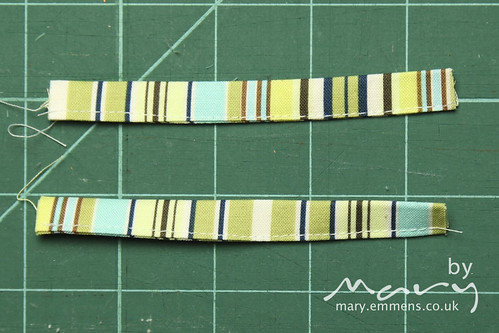
4. Topstitch along the open long edge. Cut the strip in half so that you have 2 pieces 10.5 cm long. Set aside.
5. Now take the interior piece and place a pocket at each end of the piece with the raw edges together and pin. Baste the pocket to the piece to hold in place.
6. Find the mid point of the interior piece and place the 10.5 cm strips (made in step 3) 2.5cm either side of the middle, pin and stitch in place.
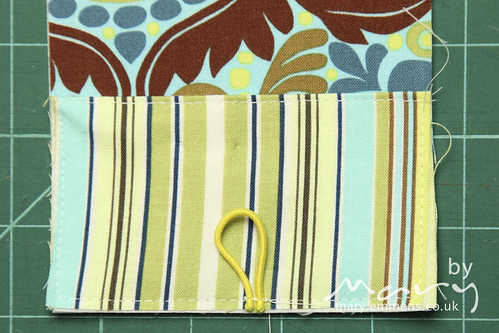
7. Take the piece of elastic, fold in half and place on the right side, halfway along the right hand short edge of the interior piece, ensure that the ends of the elastic line up with the edge of the fabric (so the loop is on the fabric). Stitch in place with a really short stitch, this can be quite tricky as the elastic may move under the foot, try and hold in place with your fingers.
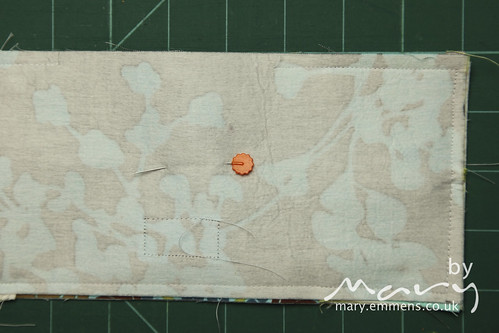
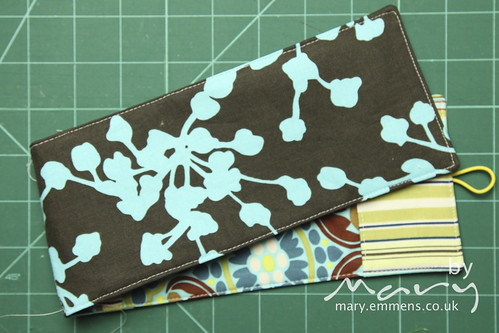
8. Place the interior and exterior pieces right sides together and pin ensuring that the edges meet up. Starting on a long edge sew with a 5mm seam allowance around the cover make sure that you leave a 10cm gap to turn the cover the right side out.
9. Trim the corners being careful not to cut any stitches and turn the cover right side out.
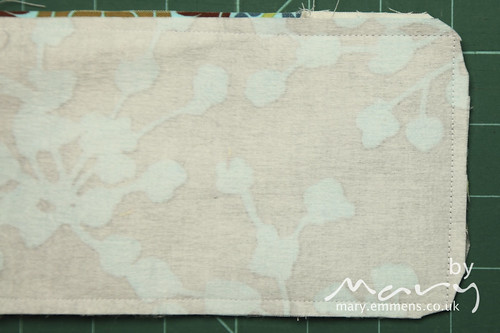
10. Using a blunt tool (knitting needle, blunt end of a bamboo skewer is my favourite) push the corners out. Turn in the seam allowance at the opening and press the cover so that all the edges are flat. Topstich all around the cover, closing the opening and making sure that the elastic loop is sticking out (not sewn back onto the cover).
11. Find the mid point where the cover folds in half and stitch down this line, it helps the cover to fold in the right place.
12. Sew in any loose ends.
13. Stitch a button to the outside of the cover opposite the loop.
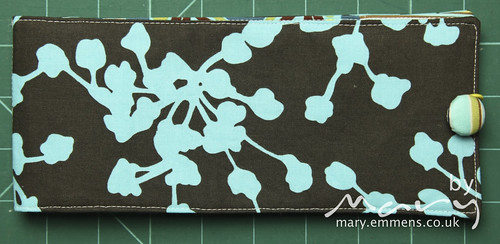
Sit back and admire your work, well done you are finished!
If you have a go at making this I’d love feedback on the tutorial, please ask questions if you don’t understand or get stuck. If you blog about it please link back and let me know.
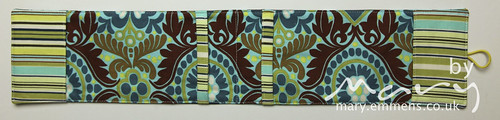
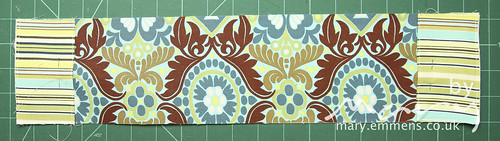
(Fabrics: Amy Butler Belle: Coriander in pine, Kashmir in brown and Oxford Stripe in okra)
You are welcome to use this tutorial for personal use, please do not use instructions or pictures without permission. Thanks!
Oh, I nearly forgot this cheque book cover is for sale at £16 (plus postage cost) if you want it send me your paypal email address and I will invoice you and get it in the post to asap. AND I will be writing a tutorial for the other cover too, just give me a few days!
Linking up with:


thanks for taking the time to do that Mary – well done x
Great tutorial and what a fab idea, Ive never thought of a check book cover before but now I have seen this I really think that I need one! Thanks for linking up 😉