This weeks project is probably the quickest one in the whole book (I say that without looking at the rest of the projects) at least so far. I should probably tell you first of all that I have never before made a pincushion, I don’t even own one! Is that shocking? I’ve always just kept pins in the little pot they come in and then a couple of years ago was treated to a magnetic pin holder which I must admit is excellent with 3 small children in the house and my skill at dropping pins!
I’d already picked fabrics in my head for this project, a vintage napkin from the car boot, denim from old jeans instead of linen and some ric rac from the jar.
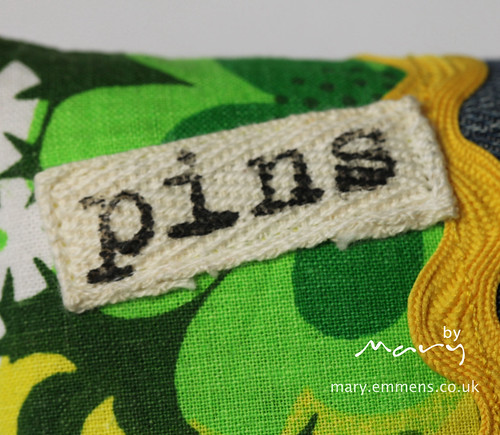
Yesterday afternoon I measured, cut and stamped some twill tape. Somewhere in our house I think we have a lovely little flower stamp but it’s whereabouts are unknown, I believe we used it on our wedding stationery 15 years ago! So instead of that I opted to use my text stamps and came up with a quite possibly unoriginal idea of the word ‘pins’. Ayumi at Pink Penguin mentioned that she found the stamping tricky, but mine seemed to go ok, I just held the tape taut with one had while I stamped with the other.
In the evening, after dinner, before the children’s bedtime I sewed. After bedtime I filled the cushion with crushed walnut shells, yes really. The book calls for polyester fiberfill but I have just bought the crushed walnut shells from Quilt Me Happy, the description on their website says:
‘For years the crushed shells of the edible Walnut have had a variety of uses from polishing metal through to skin exfoliant, and now quilters have discovered its benefits as a stuffing for the humble pin cushion! They feel dry to the touch, are incredibly lightweight and have a mildly abrasive quality that makes them a perfect choice for keeping your pins clean and sharp.’
So I’ll let you know what they do for the sharpness of my pins. The shells are sold by weight, 140ml should be enough for a 7-8cm square pincushion. My pincushion measures 12.5 x 10.5cm and I used approx 2 1/2 bags (yes, a good job I bought 5 bags!).

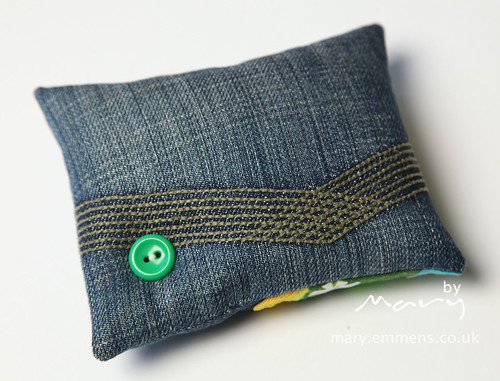
I used buttons from my jar, the yellow one is identical to the vintage one I used last week on the House Pouch. The back of the pouch is the back pocket from the jeans I used in making the Treasure Pocket Pants, I really like the detailed stitching that I didn’t have to do. Do you see nothing is wasted and things link together although I’m not sure I want the wearer of the Treasure Pocket Pants to be playing with the pincushion!


Such a cute pincushion!!! I have never heard of using walnut shells in a pincushion… interested to see how they perform.
Mary you really are such a clever lady – love it!
Love it Mary – fab x
Hi there! Just discovered your blog through the FQ Retreat Flickr group! Love your makes, especially recyling denim (a particular passion of mine too!). Your wee pincushion is adorable. Hopefully I’ll bump into you at the retreat in London and say Hi properly! Jxo
You pincushion is so adorable! Great job on the stamping…I love the word idea so much. The denim works well, and looks so great with the fabrics you used!
Love how you used the pocket stitching!
BTW, I just got 20 litres of the crushed walnuts (lizard bedding) for £23 inc P&P for when you need more :o)
I love your pincushion! It’s very cheery and bright and I really love that you used the stitching on the back pocket!
Pingback: A bit of car booty | mary emmens