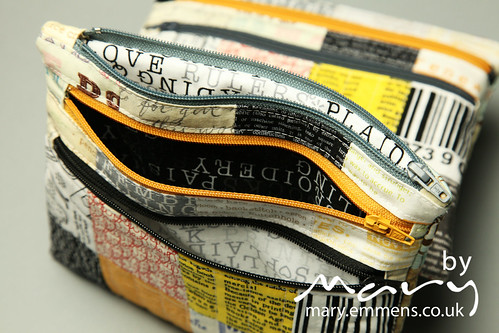
Or so it might seem. You may well have seen a number of pouches popping up on sewing blogs all with 3 zips. Yes, 3, well if you can put one in you can probably put in 3! This is all thanks to Debbie’s tutorial that she posted last summer, she recently organised a zip along and having had the tutorial pinned for months I thought I’d give it a go.
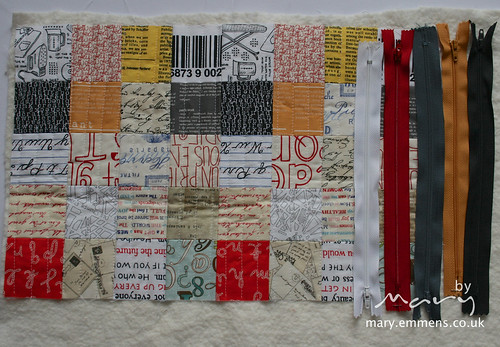
I pulled out the text charms from the Addicted to Text charm swap I took part in last year and made a block loosely based on the Oh Fransson! tutorial. I then quilted it onto some thinnish batting:
I didn’t have any zips in that were the right size (9″) or colour so I made a very quick trip to the fabric shop and bought all the zips the were the right size and colour:
You might detect that the block looks quite big, well my plan was to make not one but two pouches, as I didn’t think it wouldn’t take much longer. You might also notice there are 5 zips in the picture – that was just to confuse things.
A couple of things I discovered along the way were that I found as I sewed the pouches I could easily have used 8″ zips rather than 9″ as specified in the tutorial, I cut off approx 2″ once the zip tabs were on. I also think that the zip tab pieces would have been big enough at 1.5″ x 2.5″ (rather than 2.5″ x 3″) – you can tell that I am tight with fabric and don’t like cutting off ‘big’ pieces to discard them!
I found the finishing stages of the tutorial slightly unusual and tricky to work with and after doing one that way I devised a way that suited me, no, I didn’t photograph it and it’s tricky to put into words – sorry. Hadley boxed the bottom of hers and because she had a directional print need to do it slightly different, check out her post on it if you want some more guidance.
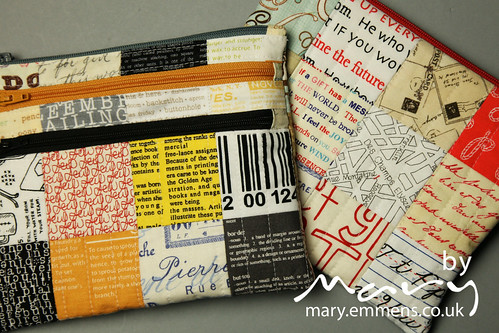
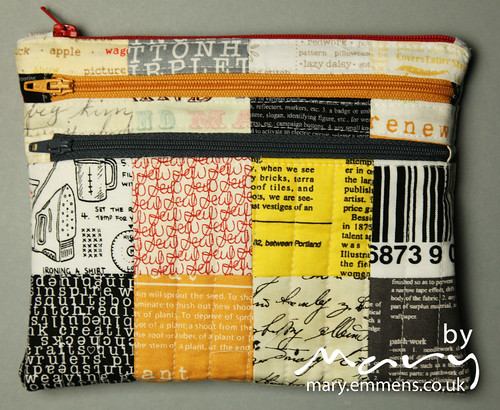
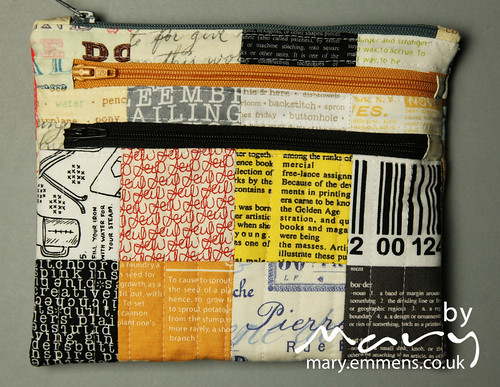
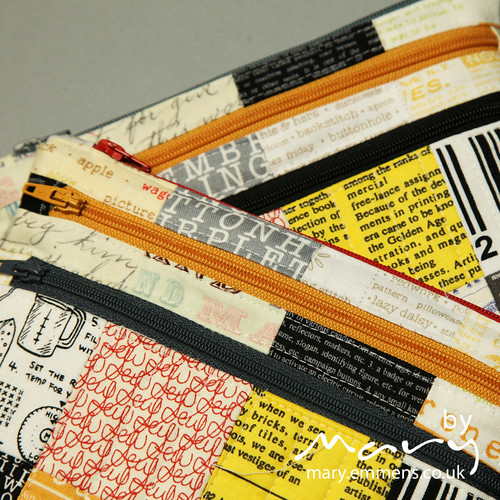
There are subtle differences between my two pouches:
Can you spot them?
There are a number of tricks, tips and advice in the flickr group so if you fancy having a go it’s worth having a read of those first.
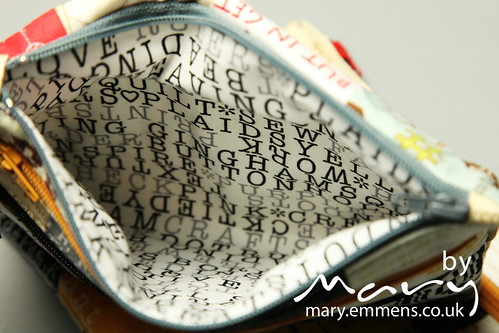
The linings? Would you like a peek?
I used various text prints from Michele D’Amores Wordplay collection that I bought recently:
I’m pretty pleased with how these turned out. Thanks very much to Debbie for the tutorial and the inspiration to make one (or two) myself. I’m not sure I’ll ever be able to make just a one zip pouch again!
So do I need 2 pouches almost identical? No it’s guaranteed to confuse me so I’ll be giving one away at some point, would you like one?
And while on the subject of giveaways, come back tomorrow I’ve got one lined up for you…



These are lovely! Sue x
Ooh, they look lovely! The texty prints work really well. I chopped loads off my zippers too, but since I am never entirely sure how one is meant to measure a zipper (from metal bit to metal bit? from tip to tip?) I always end up using longer ones than I need.
I’ve seen some of these pouches in Blogland and just love them. I’m a bit afraid of the zippers though. Will definitely be a project I will tackle in the near future though. LOVE the text prints!
oh these turned out SO nice! I adore your use of the text prints – just perfect for this little pouch! Thanks so much for joining in the fun!
I used the alternate finish instructions, and I varied those a bit as well by cutting the main body and main lining into two pieces. Cutting the main body into two pieces let me use a directional print easily, and cutting the lining into two pieces let me topstitch down both sides of the top lining. The first time I did it, my main lining was getting stuck in the zip, argh. This is a fun project, though, and yours looks so great!!
They are fantastic bags and so much to read on them……
They look great and the fabric is brilliant! I came across this tutorial recently and it’s already on my to-do list!
Yey! You mastered it! Well done! Jxo
Fabulous job.
They are divine.
I would love to win one, so will definitely keep my eyes peeled for that giveaway.
:0)
Knockout pouches Mary!
Good job with the triple zippy pouches. I think I’m addicted to making these as they are fun to make. Di x
Lovely indeed! xxx
I am the only person in the known world not to have tackled these yet lol Yours look great though, so I’ll settle for you doing all the hard work and me winning one 😉
Yes please! I would like….no LOVE one.
Oooh they look lovely! Not had a chance to play with these yet.
They turned out beautifully! Congratulations! And I just love seeing all the text prints bc I’m in a text charm swap right now! Awesome inspiration for me 🙂
What a cute pouch, yes, having one would be great! You did a wonderful job.
I love your pieced pouches!
These are so fun! I’m also a big fan of text prints.
Have not tried these yet,but sure want to! Both of yours turned out pretty sweet. It is hard not to be “tight”with fabric when it is so pricy!
Looks great. I like the colors you picked.
They are absolutely gorgeous!
I love the fabric choices and the zip colours… I have read a few different ways for the finish and I think it makes me more nervous to try LOL
What a fantastic finish! I love them both. I can see why you can’t stop with just one.
Thanks for linking up
I was in the same swap, aren’t they fabulous fabrics. This is a fantastic looking pouch, I like the idea of sewing first, and quilting afterwards. And i so agree on the length of the zip and the size of the tab ends, if I do use a 9 inch zip for my next one, i think i’ll just make it a little wider! :o)