Still never seen Star Wars (again)
7
Oct
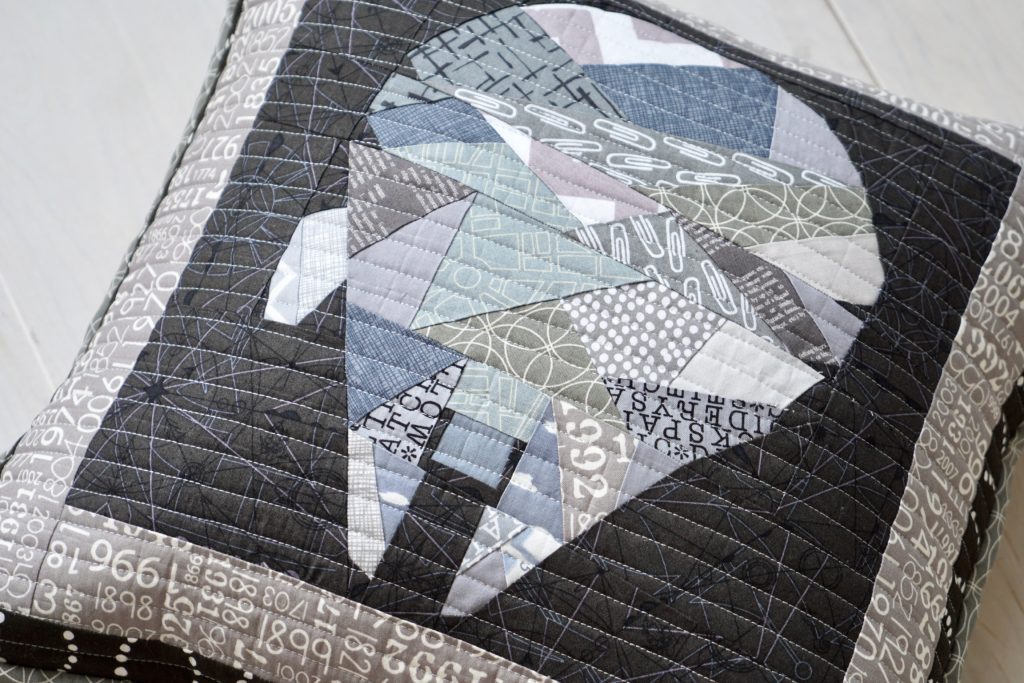
Back in July end of term was fast approaching and with one child left at primary school there were less gifts to be made. M’s teacher this year is a bit of a Star Wars fan (or at least we … Read More »