I sort of promised myself – yes, I really did the proof is here that I would make myself a bag. I won the pattern in the Dress a Girl Around the World Giveaway so thought I really ought to give it a go. So with the bunting and cape finished and Mathias having a big sleep on Tuesday morning the other week I took the opportunity to get started. Choosing the fabric was actually pretty quick, amazing really as I can spend hours looking and not deciding, too much choice? I don’t think so!
The pattern is as suggested in the title the Runaround Bag by Anna Graham of Noodlehead. It is pretty straightforward with different options along the way for pockets and pleats depending on how you want your finished bag to look and, I suppose, depending on your skill/confidence levels!
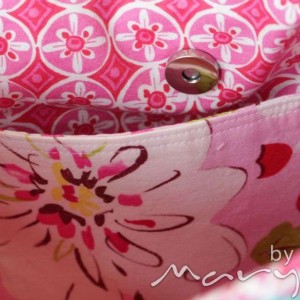
So I added pockets as suggested: one patch pocket (magnetic snap above is the bag closure)
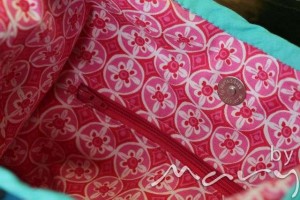
and zip pocket closed:
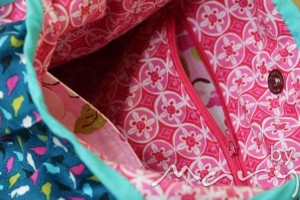
zip pocket open, with a different lining fabric in the pocket, the same fabric as the patch pocket
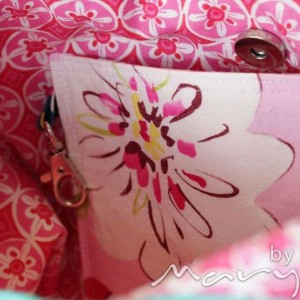
As I was sewing I was thinking about any other adjustments/additions that I might want to make to the pattern and I remembered that I had some trigger clips/lobster clasps and thought it would be useful to put one of those in somewhere. I thought I would add it to the side of the patch pocket, then I forget until I had sewn the pocket on! Kicking myself for forgetting I decided as this bag is for me it really needs to be as I want, so I did a bit of unpicking and added in the clip. I so often just chuck my keys in my bag and then when I get home spend vital seconds scrabbling around for them in my bag;
The bag is finished with bias binding which makes a nice change from sewing it together inside out and then turning it the right way through a gap left in a seam. I wanted to find the right binding to finish the job, visits to 2 local haberdashery shops were very unsuccessful on the ready-made binding front – I was so disappointed as I just wanted to get it finished. I then decided that I would have to make my own binding which I’m perfectly capable of doing but buying a packet is so much quicker. So I found a plain cotton that would do, took it home, washed it, dried it, ironed it, cut it, ironed it into bias binding and was only then ready to sew it on! See what I mean about how much easier it would have been to buy ready-made?
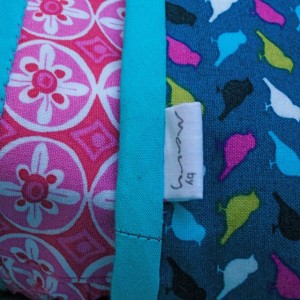
So one finished bag – yippee! But oh no I’d forgotten (again) to add a label. Tobi says I should have a big sign attached to the sewing machine so I don’t forget but I’m not convinced it would help. So I unpicked some of the bias binding on the handle and stitched in one of my labels and then stitched the binding back on! A bit of a faff but worth it for my own piece of mind and satisfaction.
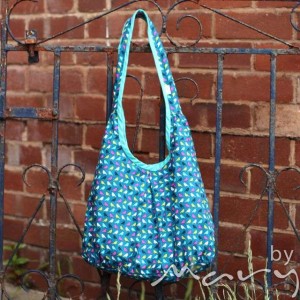
So there you go, the whole bag looks like this:
I’m delighted with it and that’s what counts! One satisfied customer!


that turned out so cute. love the erin mcmorris print. 🙂 so glad you liked the pattern! 🙂
Pingback: Summer Sewing Plans - mid term review! | mary emmens